HOW TO TAKE REAL ESTATE PHOTOS
How to take real estate photos...by people in the know!
They say a picture is worth a thousand words but pictures of your property could easily be worth a million!
Real estate photos are one of the most important factors in making sure that a property is sold or rented. By following just a few easy steps you can increase the quality of your photos and make it far more likely that you can secure a tenant or buyer quickly. We’ve written a list of our top tips below so that you can show off your property in its best light (quite literally!)…

1. High Quality Images
Good image quality is key to drawing in prospective buyers or tenants. High quality pictures appear brighter and clearer, giving them a good idea of the space as well as reassuring them that you have nothing to hide! It also suggests that you have a professional attitude towards your properties and that all contracts and agreements will be above board and expertly handled. You can cram so much information into those few extra megapixels - well worth investing in a decent camera or using a high quality smartphone!

2. Lighting
This is the most important factor of all. Lighting is essential to making your property appear more attractive and a key factor in tenants/buyers choice of property. Take your photos at midday when the sun is strongest and open all curtains to flood the room with natural light. It might be worth strategically placing mirrors on the walls to reflect as much light around the room as possible. If your property doesn’t get much sunlight then LED bulbs are your best friend - invest in a few and they’ll pay you back tenfold.
3. Exposure
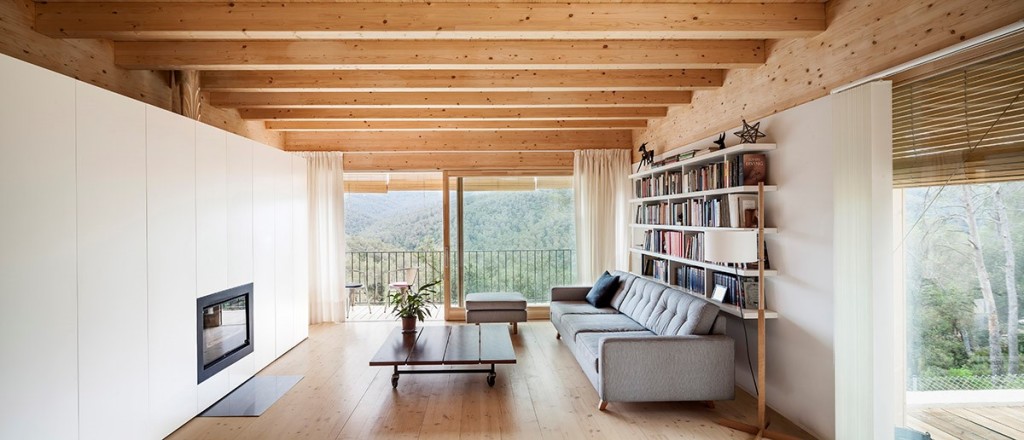
It is also important to make sure your pictures aren’t over-exposed. This means keep the light coming through the windows and the light inside the property in balance. You don’t want to be able to see the trees perfectly but not be able to see a thing inside - or vice versa! However, be careful not to over edit your pictures as this can make it look like you’re trying to hide something or look a bit unprofessional.
4. Keep it clean and tidy
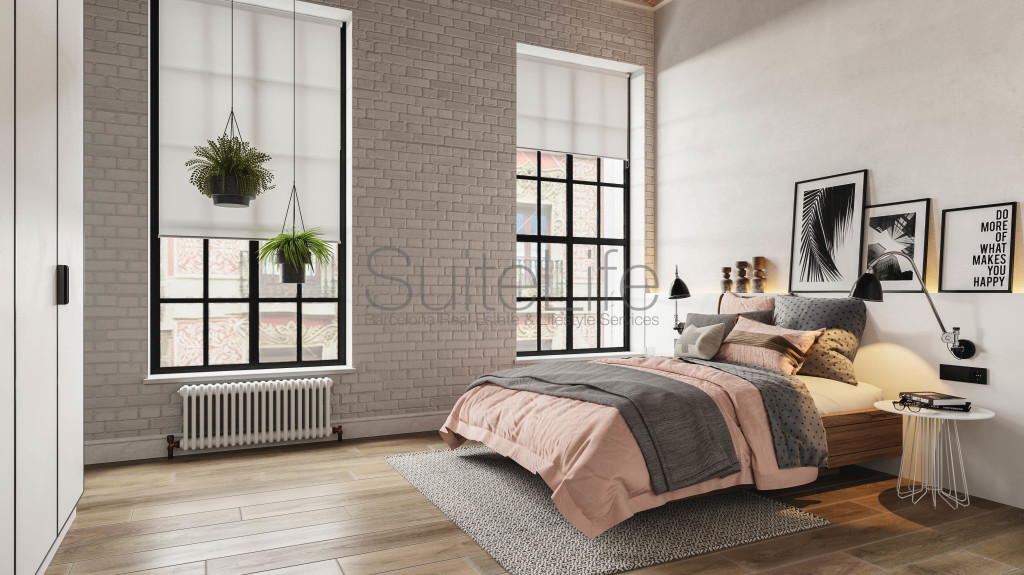
It seems obvious, but you’d be surprised at how many times we’ve seen dirty dishes in the sink in property photos! Rooms must be clean and tidy, right down to the small details such as hiding cords and remote controls, even putting away your toiletries. If it is clean and tidy, it suggests the property has been looked after and will be in good shape when the buyer or tenant arrives. It also leaves some space for imagination - the person viewing the property can picture themselves living in the space rather than seeing themselves living amongst other people’s clutter!
5. Make it look like a home
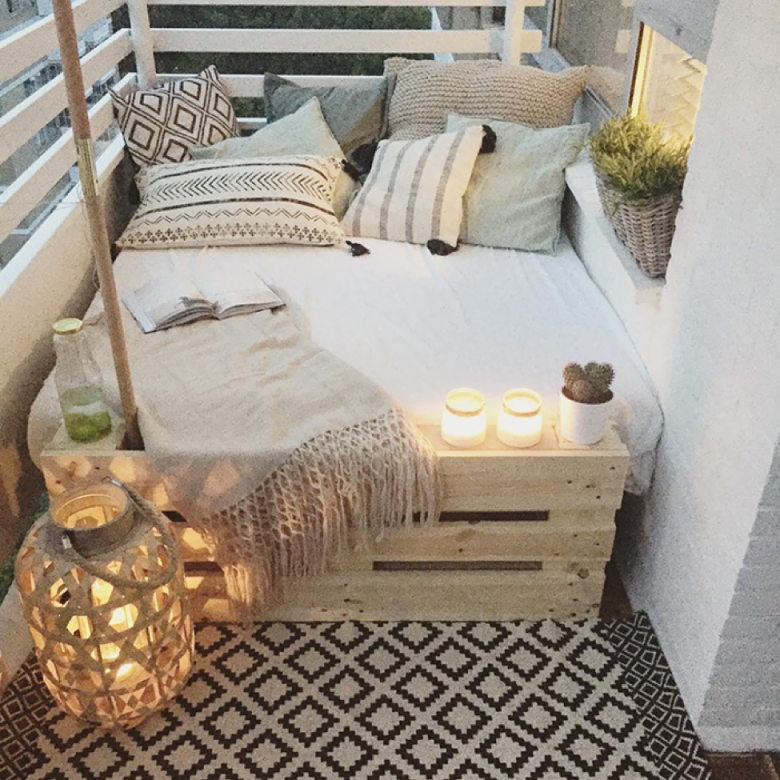
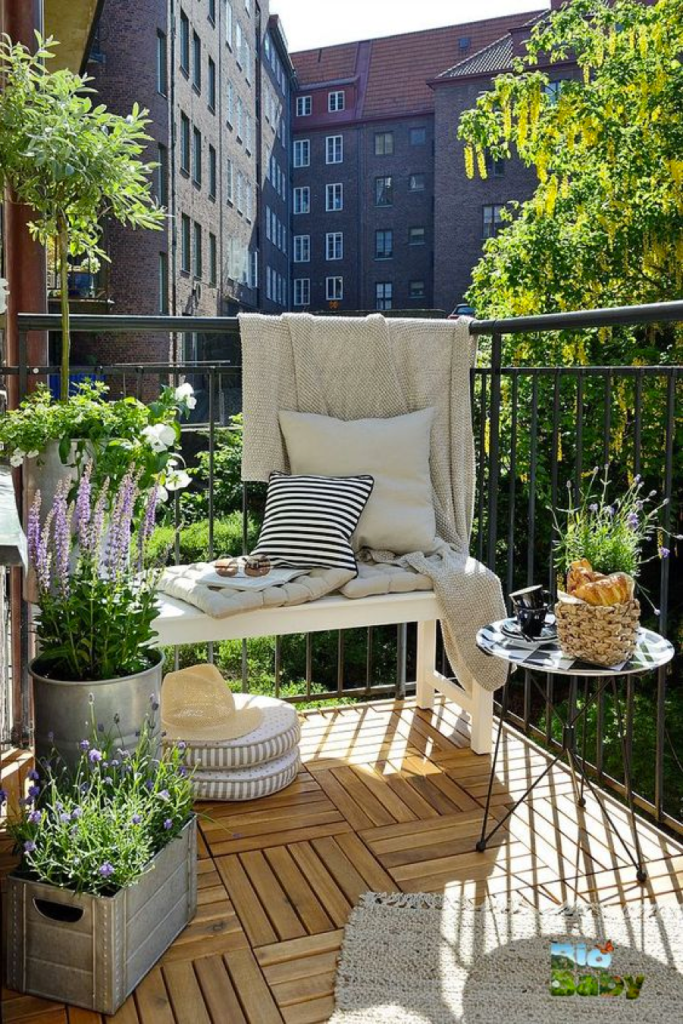
Keeping it clean and tidy doesn’t mean it needs to be stripped back to the bare bones! Put a vase of fresh flowers on the table and buy a comfy looking throw and cushions for the sofa - maybe even leave a teddy bear on the bed of the kids room! Hint at the home the buyer/tenant could have rather than just showing them a house which could belong to anyone.
6. Work on your angles
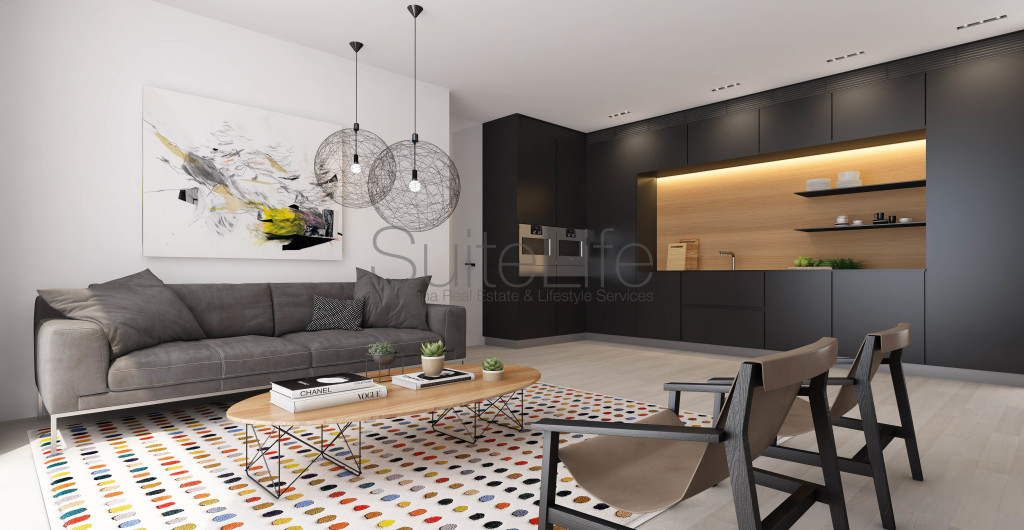
Angles can make all the difference in an image. Make sure you line up the floor and walls horizontally and vertically (some cameras have a grid-like viewfinder to help you with this) and try to get as much of the room in the image as possible. Kneeling can help you to get an angle which shows the walls and furniture without taking up too much of the image with the floor or ceiling.
7. Get Decorating!
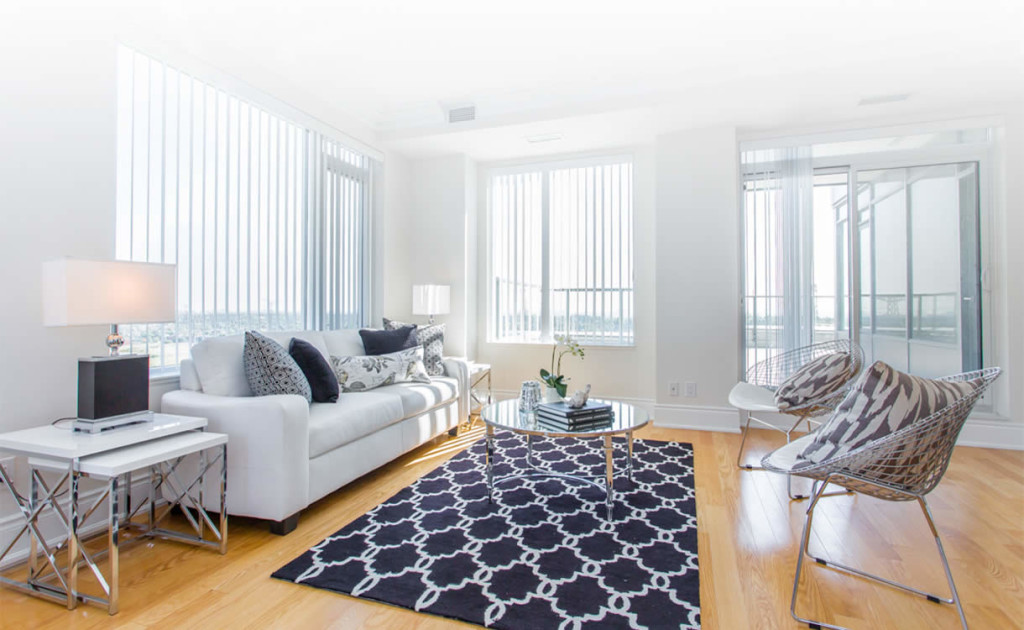
A fresh coat of paint and new bedding can make all the difference in the world. Stick to bright, neutral colours on the walls to maximise the space and add splashes of colour with soft furnishings to lift the room and make it feel more homely.
Hopefully these tips have helped you to work out how to get the most from your property photos. Now put them in to practice and get snapping!
- Erin


